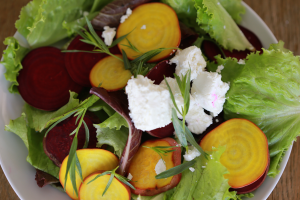
Strawberry Carrot Rhubarb Radish Spring Salad
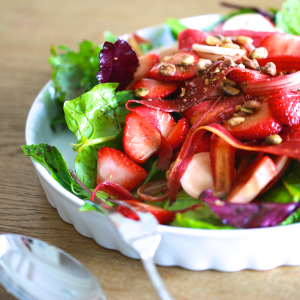
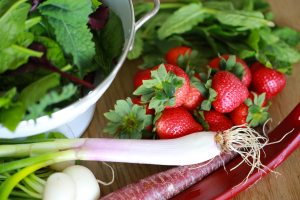
I was out at the farm yesterday. As my CSA bag was being filled with veggies by our fabulous, hardworking farmers, I immediately knew I wanted to make this super springy salad when I got home. The power greens mix is exquisite and, I can’t get enough of it. This salad will help revive you from the long cold winter. The sweetness of the strawberries, the sourness of the rhubarb, the freshness of the mint, the spiciness of the radishes will all balance each other in this salad.
When selecting your rhubarb, make sure you choose a small tender stalk. Larger stalks can be too fibrous.
Recipe adapted from “New Persian Kitchen” – Louisa Shafia
Ingredients:
- 4 handfuls of power greens
- 1 inch of the bottom of a green shallot. Save the unused portion of the green shallot for other use.
- 1 handful mint leaves
- 1 rhubarb stalk
- 4-5 turnips or radishes
- 1 carrot
- 7-8 strawberries
- pistachios
- 2 Tablespoons balsamic vinegar
- 3 Tablespoons olive oil
- salt and pepper
Instructions:
Slice the strawberries. Then slice the turnips thinly. With a vegetable peeler, peel the carrot and rhubarb into ribbons. Set aside.
With the side of you knife or with a mortar and pestle smash the green shallot and a pinch of coarse salt into a smooth paste. Once smooth, add one tablespoon of vinegar and two tablespoons of the oil to the shallot paste.
Put power greens and mint into a mixing bowl and toss with the green shallot vinaigrette. Salt and pepper to taste Move the dressed greens and mint to serving dish.
In the same bowl that you used to mix the greens add rhubarb, turnips, carrot, strawberries, 1 tablespoon vinegar and one tablespoon oil, toss. Move to serving the dish on top of the greens. Garnish with pistachios and serve immediately.
Note: Save the turnip/radish greens, they are wonderful and you don’t want to waste them. You could use them with the greens in this salad. I will be using them together with the broccoli raab.


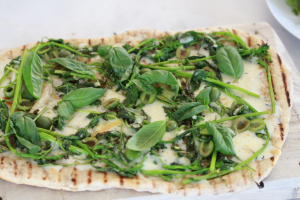
 htly with olive oil; sprinkle with salt and pepper. Grill vegetables until tender and brown, about 4 minutes per side for peppers and squash and 3 minutes per side for onion. Grill bread until lightly browned.

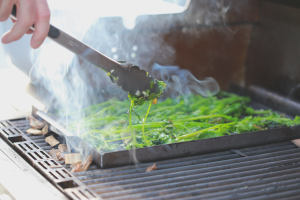
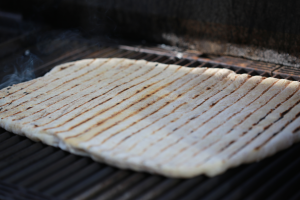 Grilling time will vary depending on how hot your grill is. I use a flat cookie sheet to take the pizza dough to the grill. You can use also the cookie sheet like a big spatula to position and move the dough.